Facts
The former Transbay Terminal was built in 1939 and designed to handle as many as 35 million people annually with a peak 20-minute rate of 17,000 commuters.
First Connections
The Terminal served East Bay trains using the newly opened Bay Bridge. For the first time, San Francisco was directly linked by rail to the East Bay, Central Contra Costa County, and even Sacramento.
Service
The Terminal was designed to handle as many as 35 million people annually with a peak 20-minute rate of 17,000 commuters.Ten car trains arrived every 63.5 seconds. At the time, trucks and trains used the lower deck of the Bay Bridge and automobiles operated in both directions on the upper deck.
World War II
In its heyday at the end of World War II, the Terminal’s rail system served 26 million passengers annually. After the war ended and gas rationing was eliminated, the Terminal’s use began to steadily decline to a rate of four to five million people traveling by rail per year.
Conversion to bus
In 1958, the lower deck of the Bay Bridge was converted to automobile traffic only. By 1959, the inter-modal Transbay Terminal was converted into a bus-only facility.
HISTORICAL ALBUM
Historic images show how deeply embedded the history of Bay Area travel has been to the development of San Francisco and the region.
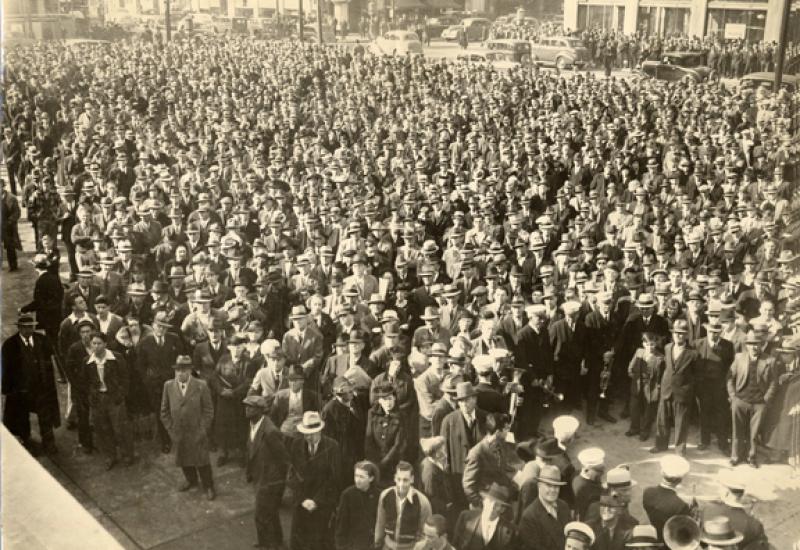
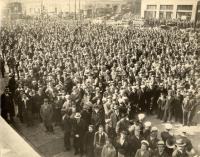
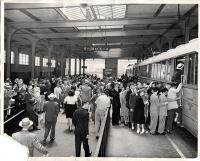
Crowd Gathers At The Opening Of The New Transbay Terminal (1939)
Photo courtesy of the San Francisco History Center, San Francisco Public Library
Transbay Terminal (1939)
Photo courtesy of the San Francisco History Center, San Francisco Public Library
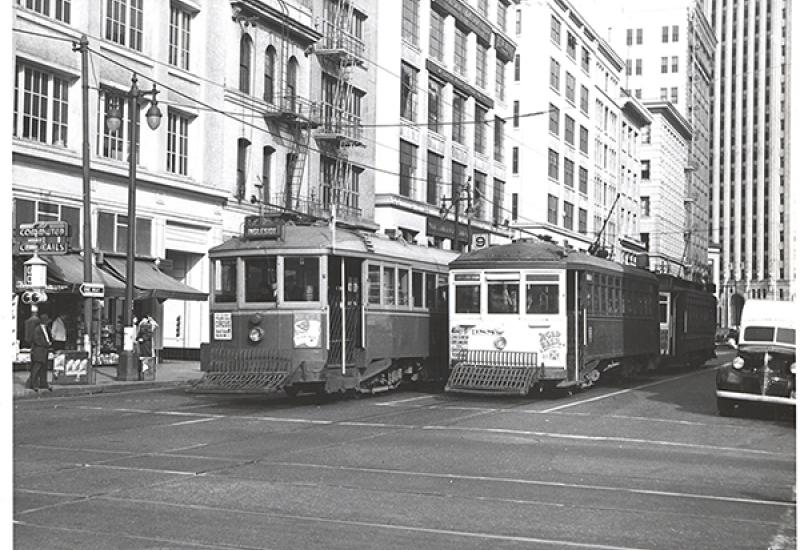
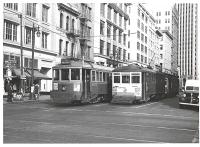
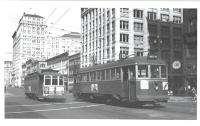
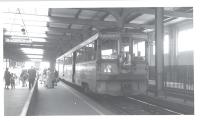
Streetcars at 1st and Mission (1948)
Photo courtesy of The Bay Bridge (Images of America) by Paul C. Trimble and John C. Alioto, Jr.
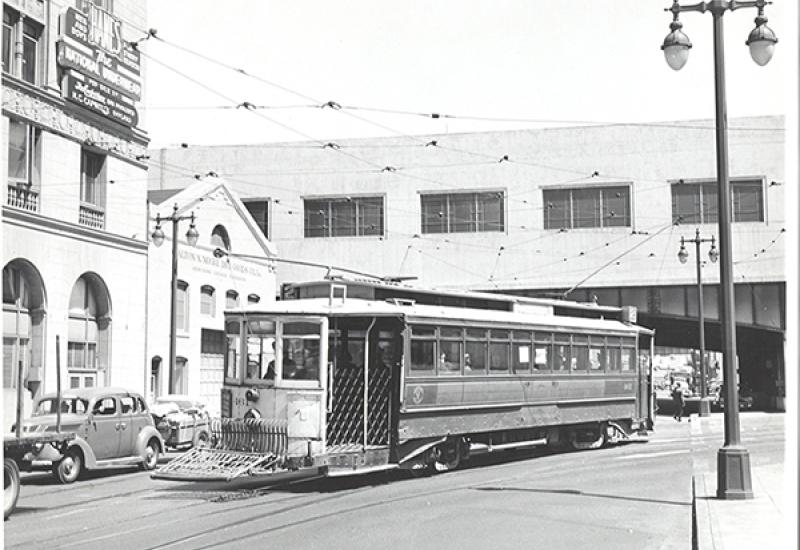
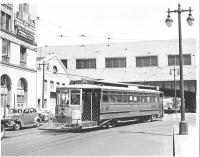
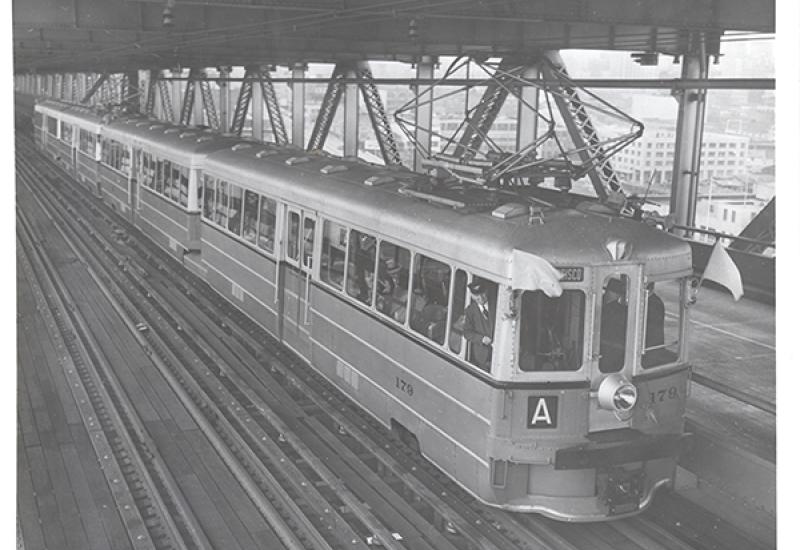
Streetcar Departing Transbay Hump (1949)
Photo courtesy of The Bay Bridge (Images of America) by Paul C. Trimble and John C. Alioto, Jr.
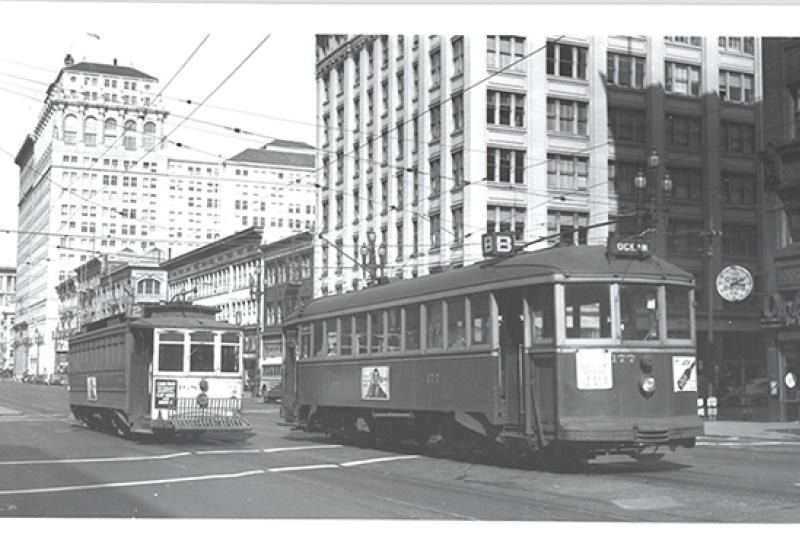
Streetcars at 1st and Market (1948)
Photo courtesy of The Bay Bridge (Images of America) by Paul C. Trimble and John C. Alioto, Jr.
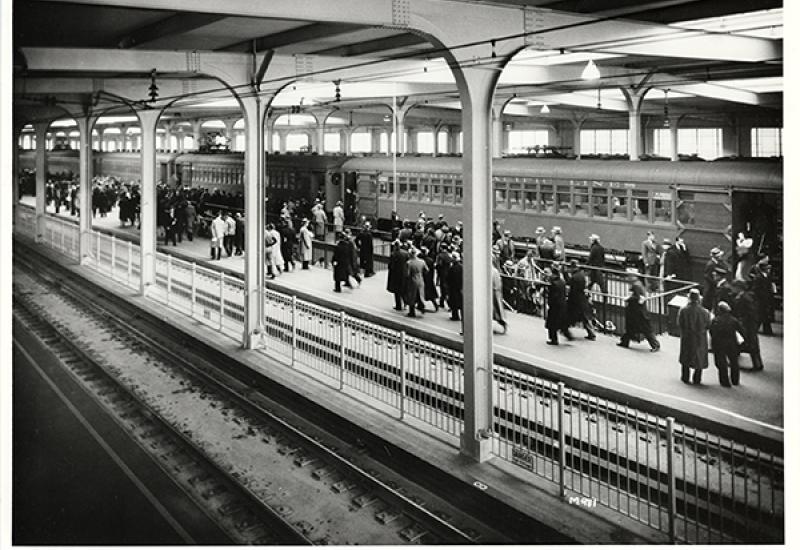
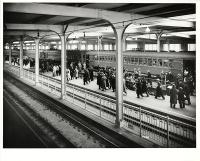
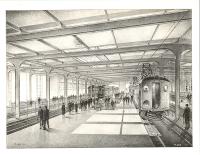
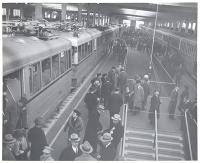
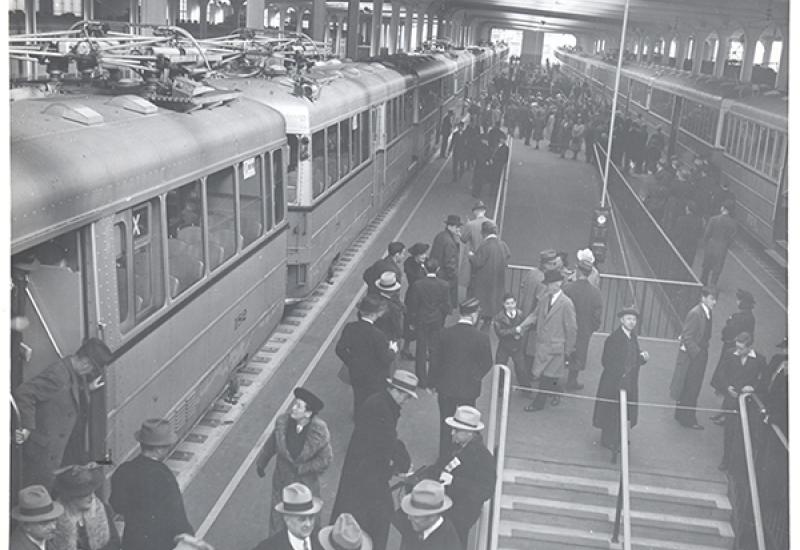
Transbay Terminal Train Platforms (1939)
Photo courtesy of the San Francisco History Center, San Francisco Public Library
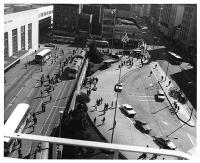
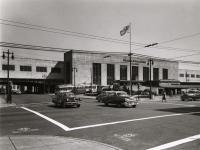
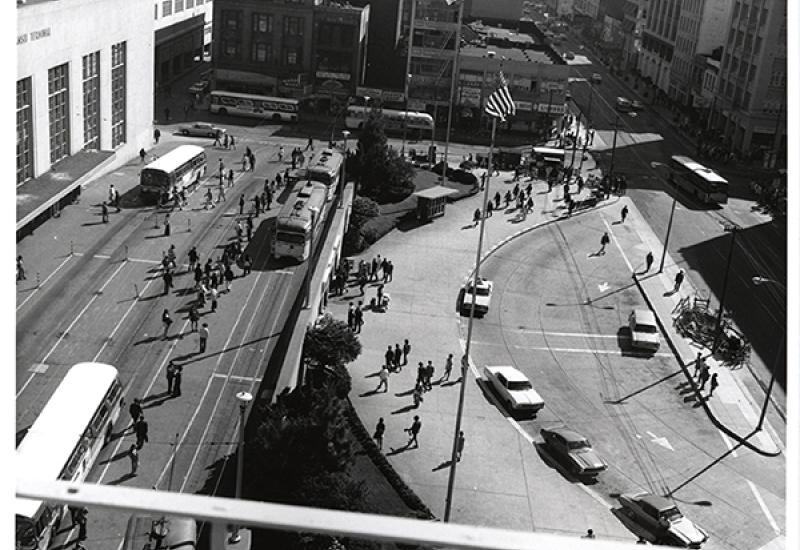
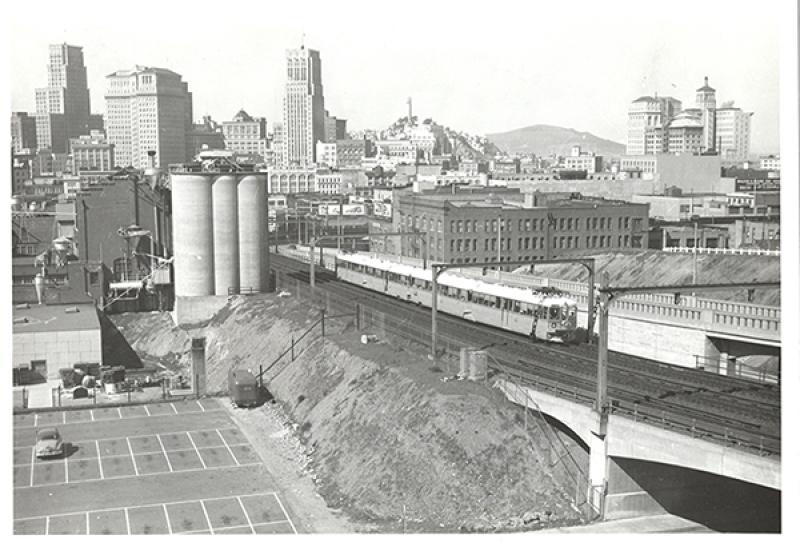
Transbay Terminal—View from Mission & Fremont (1964)
Photo courtesy of the San Francisco History Center, San Francisco Public Library

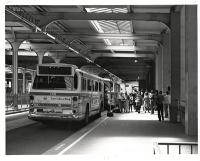
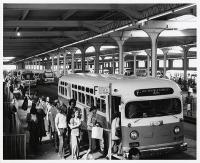
An AC Transit Express Bus in the Transbay Terminal
Photo courtesy of the San Francisco History Center, San Francisco Public Library
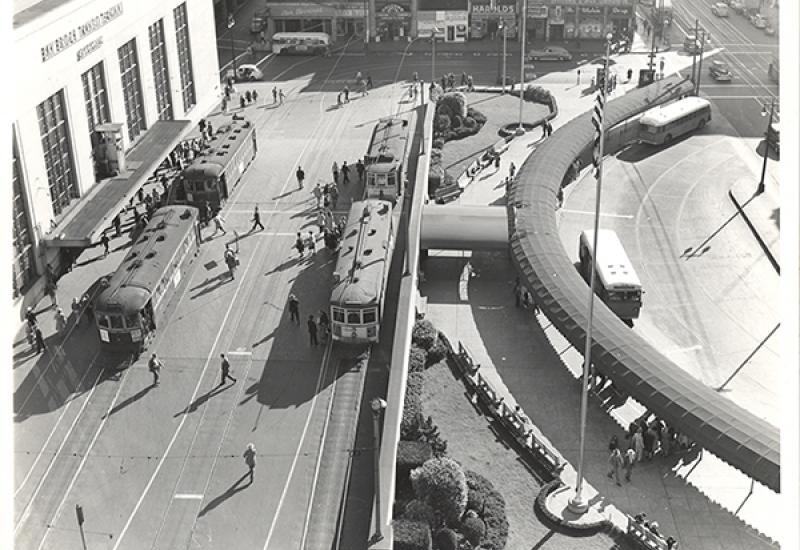
Transbay Terminal Crescent and Hump (1973)
Photo courtesy of the San Francisco History Center, San Francisco Public Library
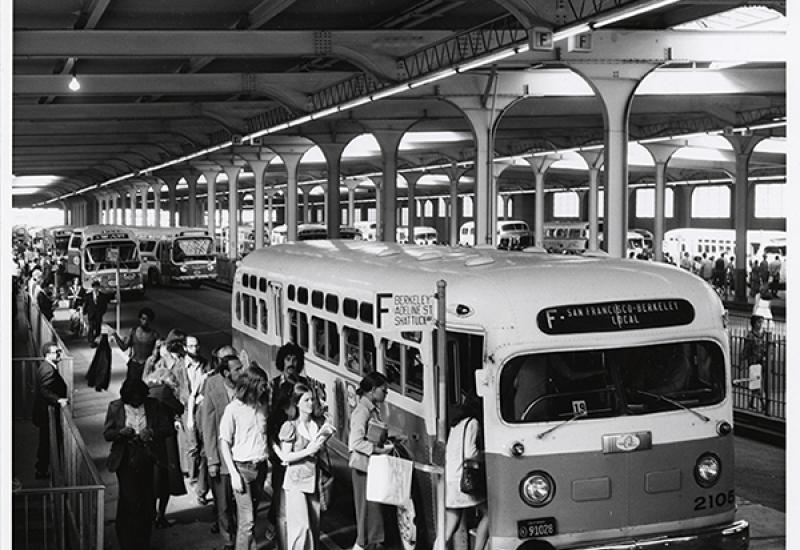
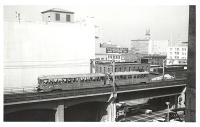
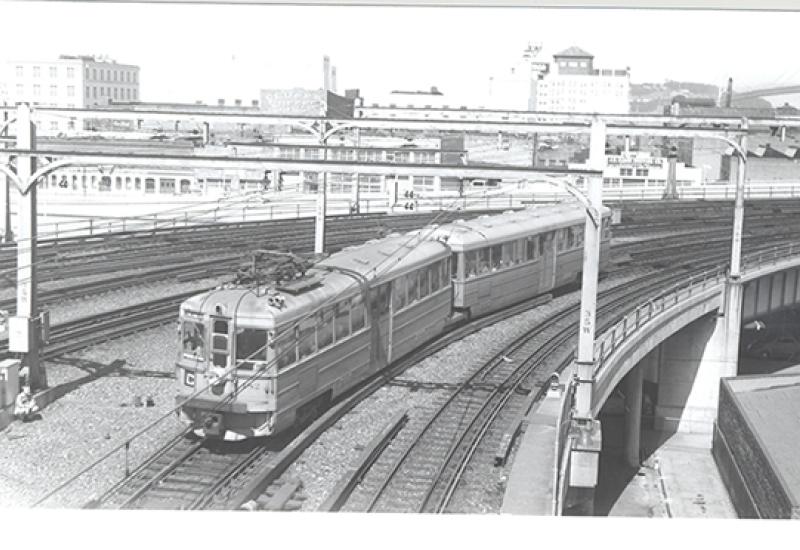
The F San Francisco Berkeley Local (1973)
Photo courtesy of the San Francisco History Center, San Francisco Public Library
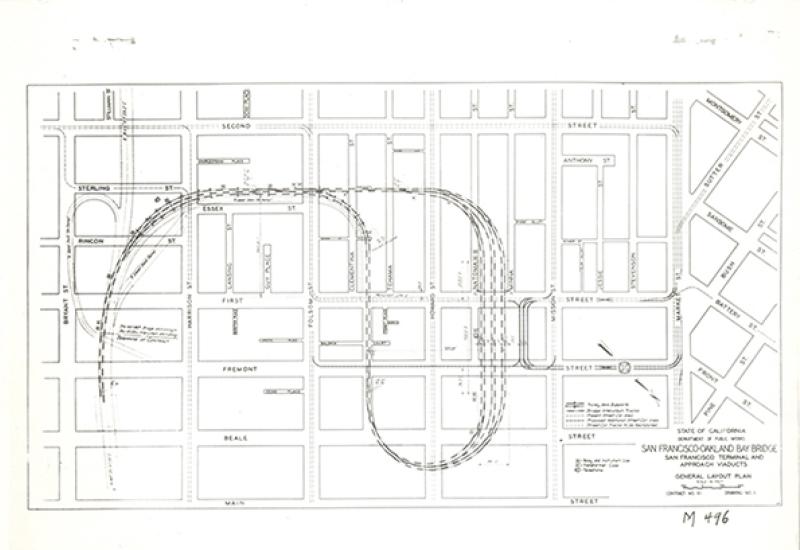
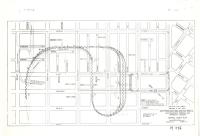
DPW General Layout Plan (1936)
Photo courtesy of The Bay Bridge (Images of America) by Paul C. Trimble and John C. Alioto, Jr.
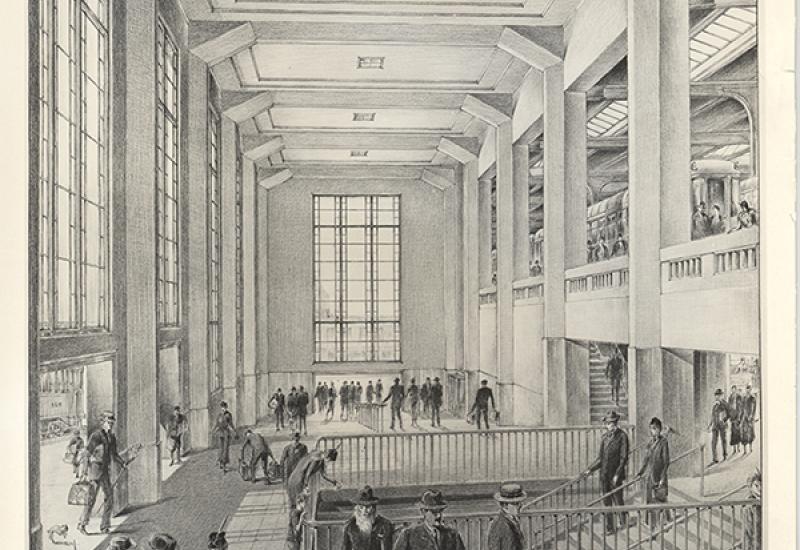
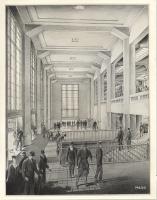
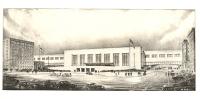
Transbay Terminal—Artist\'s Rendering of Main Foyer (1937)
Image courtesy of The Bay Bridge (Images of America) by Paul C. Trimble and John C. Alioto, Jr.
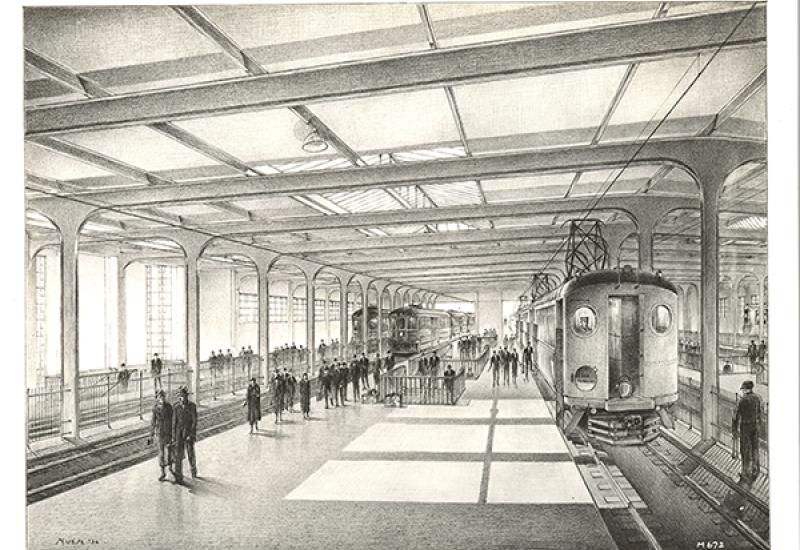
Transbay Terminal—Artist\'s Rendering of Train Platforms (1938)
Image courtesy of The Bay Bridge (Images of America) by Paul C. Trimble and John C. Alioto, Jr.
Transbay Terminal—Artist\'s Rendering of Mission St. Façade (1937)
Image courtesy of The Bay Bridge (Images of America) by Paul C. Trimble and John C. Alioto, Jr.
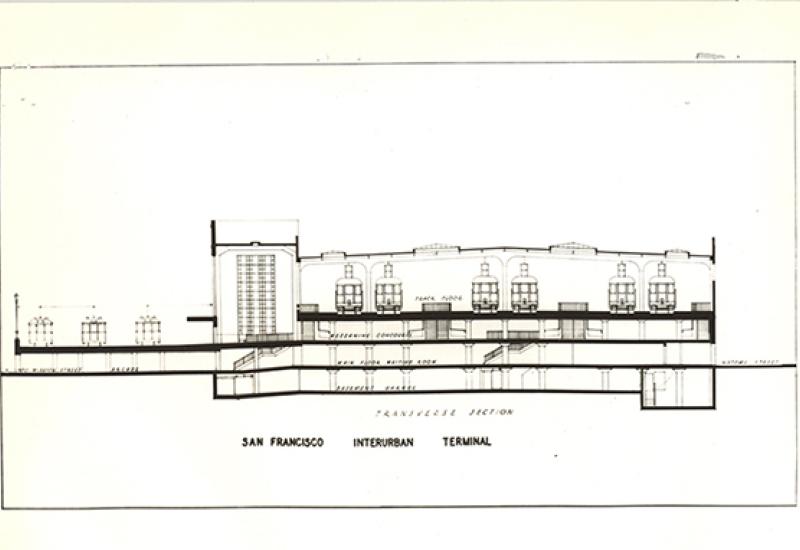
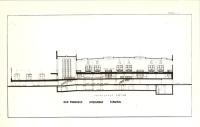
Transbay Terminal—Artist\'s Rendering of Cross-Section (1936)
Image courtesy of The Bay Bridge (Images of America) by Paul C. Trimble and John C. Alioto, Jr.
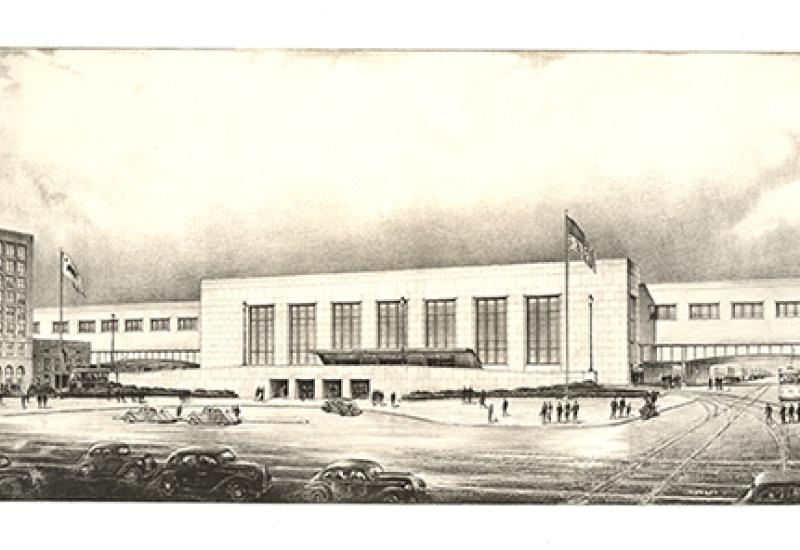
Approach to Terminal (1954)
Photo courtesy of The Bay Bridge (Images of America) by Paul C. Trimble and John C. Alioto, Jr.
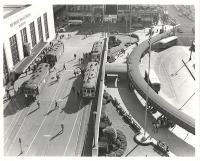
Looking Down on the Transbay Terminal Train Platforms (1939)
Photo courtesy of The Bay Bridge (Images of America) by Paul C. Trimble and John C. Alioto, Jr.
Governor on Bay Bridge Train Test Run (1938)
Photo courtesy of The Bay Bridge (Images of America) by Paul C. Trimble and John C. Alioto, Jr.
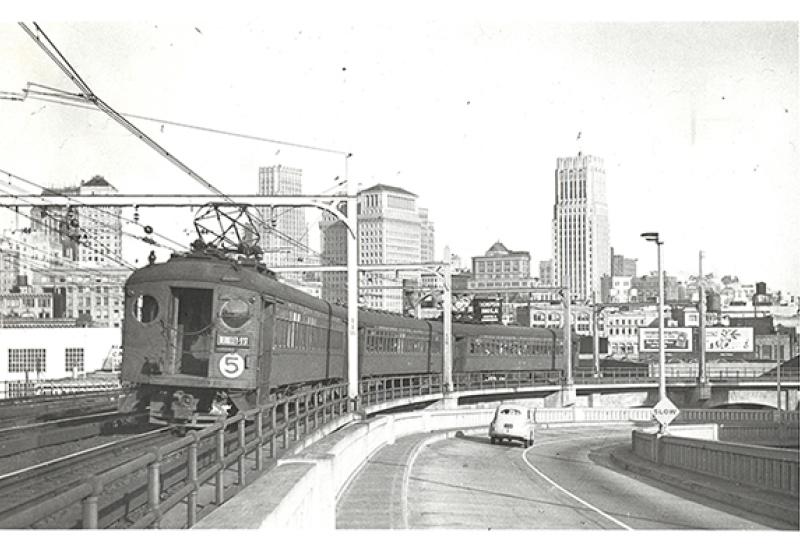
Train No. 5 Heading Towards Transbay Terminal (1940)
Photo courtesy of The Bay Bridge (Images of America) by Paul C. Trimble and John C. Alioto, Jr.
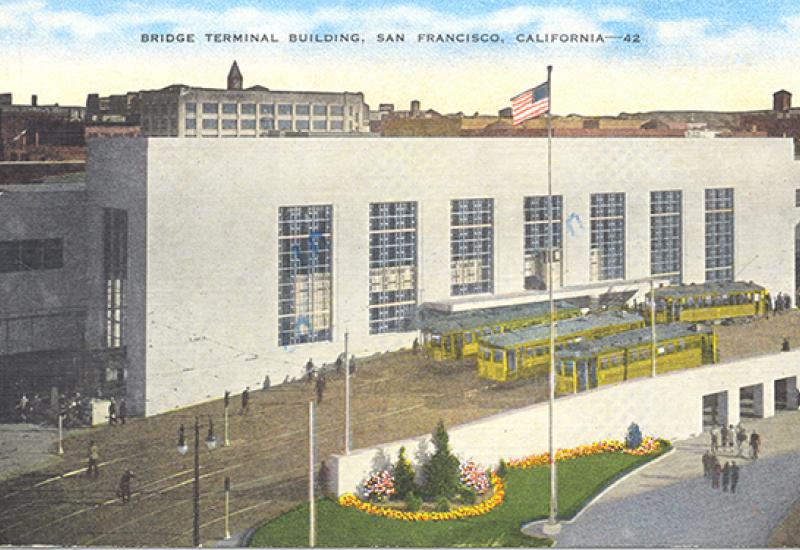
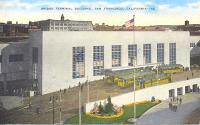
Transbay Terminal Postcard 1942
Photo courtesy of The Bay Bridge (Images of America) by Paul C. Trimble and John C. Alioto, Jr.
Transbay Terminal Crescent and Hump (1947)
Photo courtesy of The Bay Bridge (Images of America) by Paul C. Trimble and John C. Alioto, Jr.
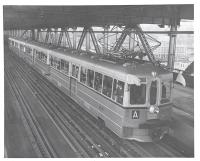
Key System Train on Ramp to Terminal (1956)
Photo courtesy of The Bay Bridge (Images of America) by Paul C. Trimble and John C. Alioto, Jr.
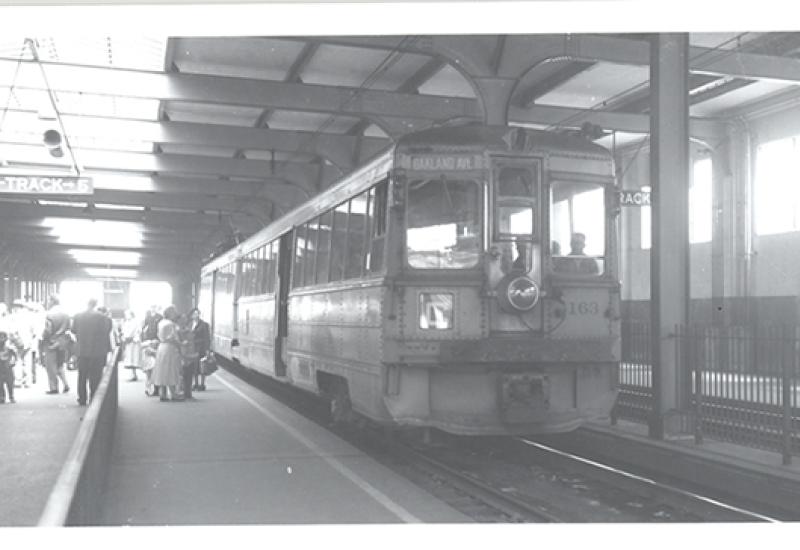
Train Platform (1957)
Photo courtesy of The Bay Bridge (Images of America) by Paul C. Trimble and John C. Alioto, Jr.
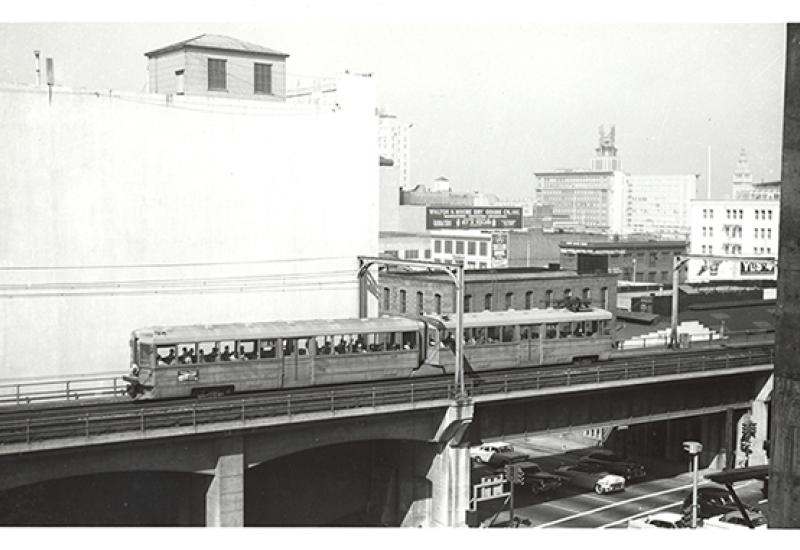
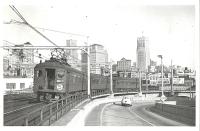
Key System Train on Ramp to Terminal over Folsom (1956)
Photo courtesy of The Bay Bridge (Images of America) by Paul C. Trimble and John C. Alioto, Jr.

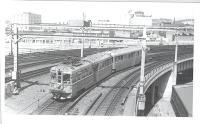
Transbay Terminal Tracks 4 & 5 (1948)
Photo courtesy of the San Francisco History Center, San Francisco Public Library
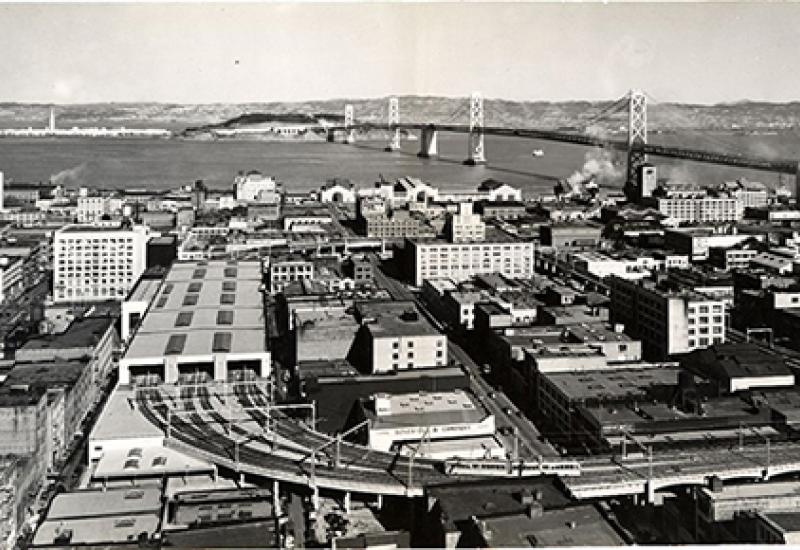
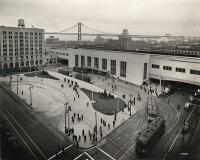
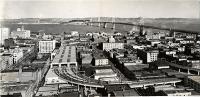
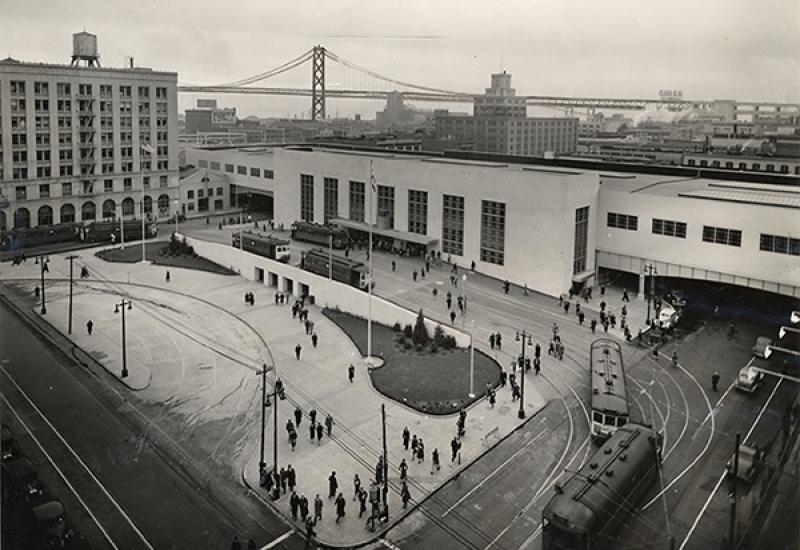
Transbay Terminal, SOMA, and Bay Bridge (1939)
Photo courtesy of the San Francisco History Center, San Francisco Public Library
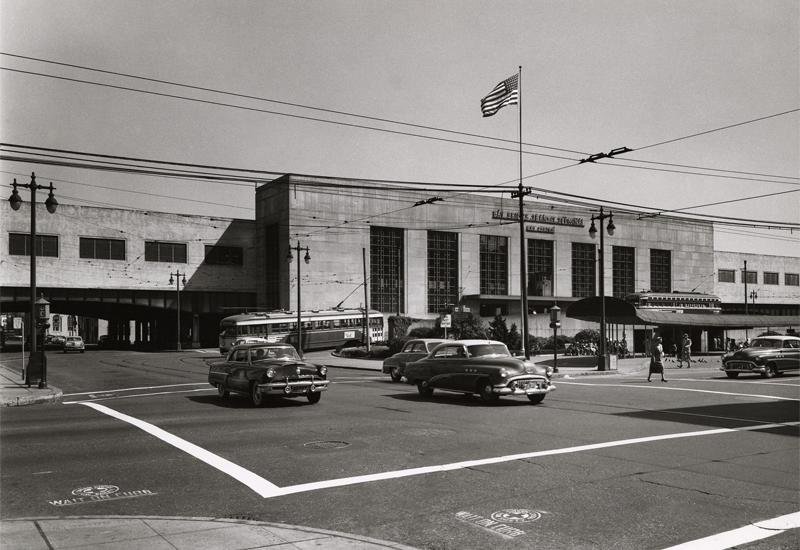
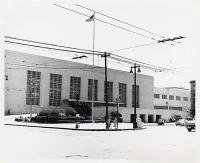
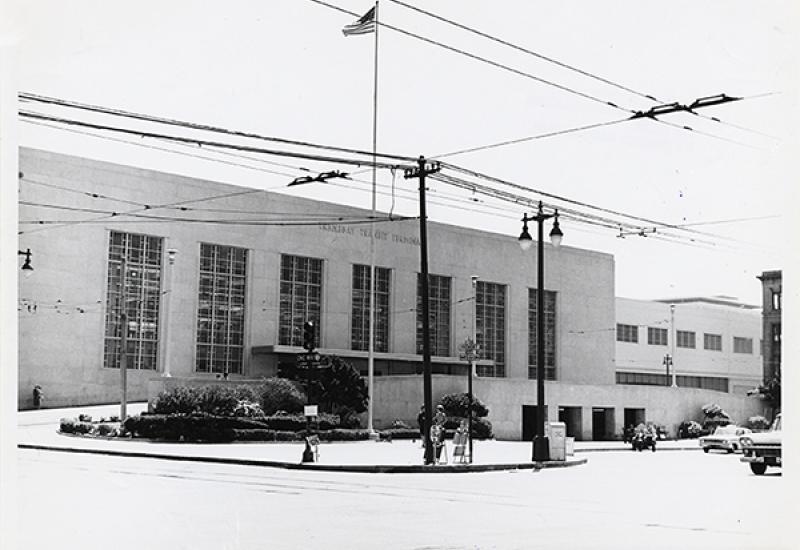
Bay Bridge Transit Terminal
Photo courtesy of the San Francisco History Center, San Francisco Public Library